
As you all know, I love the cook and try new things in my test kitchen. I would often purchase some sprouts or microgreens at the grocery store and found that they were expensive –it seems that everything is getting more and more expensive these days! We had also noticed that it was often difficult to get fresh product. Who want to get home and need to eats sprouts in one sitting… not me! That is when we launched ourselves in learning about starting our own greens and sprouts. In this blog, I’ll be giving you the first steps –and what you need to purchase – to start growing your own food, year round, in the comfort of your home!
Before we start, I want to advise that this blog is not sponsored and that products shown and proposed via Amazon are simply a resume of what WE PURCHASED (more than a year ago) to launch our sprouting journey. There are no discount codes nor are we getting a return on what you purchase. I encourage you to shop around in case you can find better deals.
What will you need?
To begin, you will need 4 things:
- Seed sprout container – to grow your greens
- Mesh Sheets – easier to grow micro-greens (not needed for sprouts)
- Seeds… obviously!
- Water spray bottle
1 – Seed sprout container
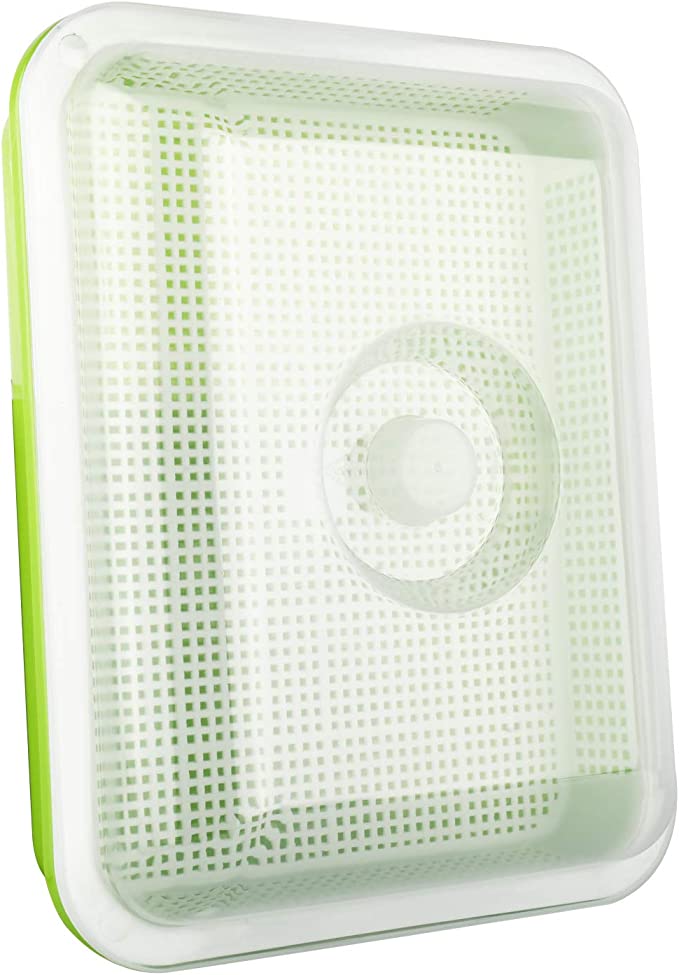
When we purchased these trays, they came in a set of 2. You can now purchase them in sets of 3 or 5… we just purchased 5 more while writing this blog!!
What is important to remember when shopping your trays is to ensure that they are BPA free and made of food grade material.
I recommend purchasing a minimum of 2 to start – you’ll be able to rotate your growing sprouts between blackout time and growing time. This will ensure you have greens all the time!
2 – Mesh Sheets
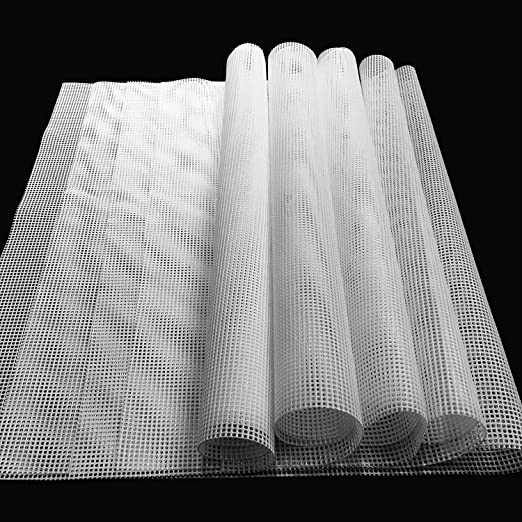
If I would have written this blog 6 months ago, I would have told you to get trays and seeds and off you go! I’m glad we did a year of experimenting prior to me writing this blog.
These mesh will come in handy for growing your microgreens and prevent germination rotting –does not mean that rotting may not occur, you need to keep an eye out for this potential issue. We’ll share more about this in upcoming blogs.
It is also important that your mesh be food grade. We selected these dehydrator silicone mesh because they were perfect for food growth and were easy to cut to the size of our trays.
These mesh sheets are not necessary for sprouts, they simply replace your grow medium (aka dirt) for microgreens.

3 – Seeds… obviously
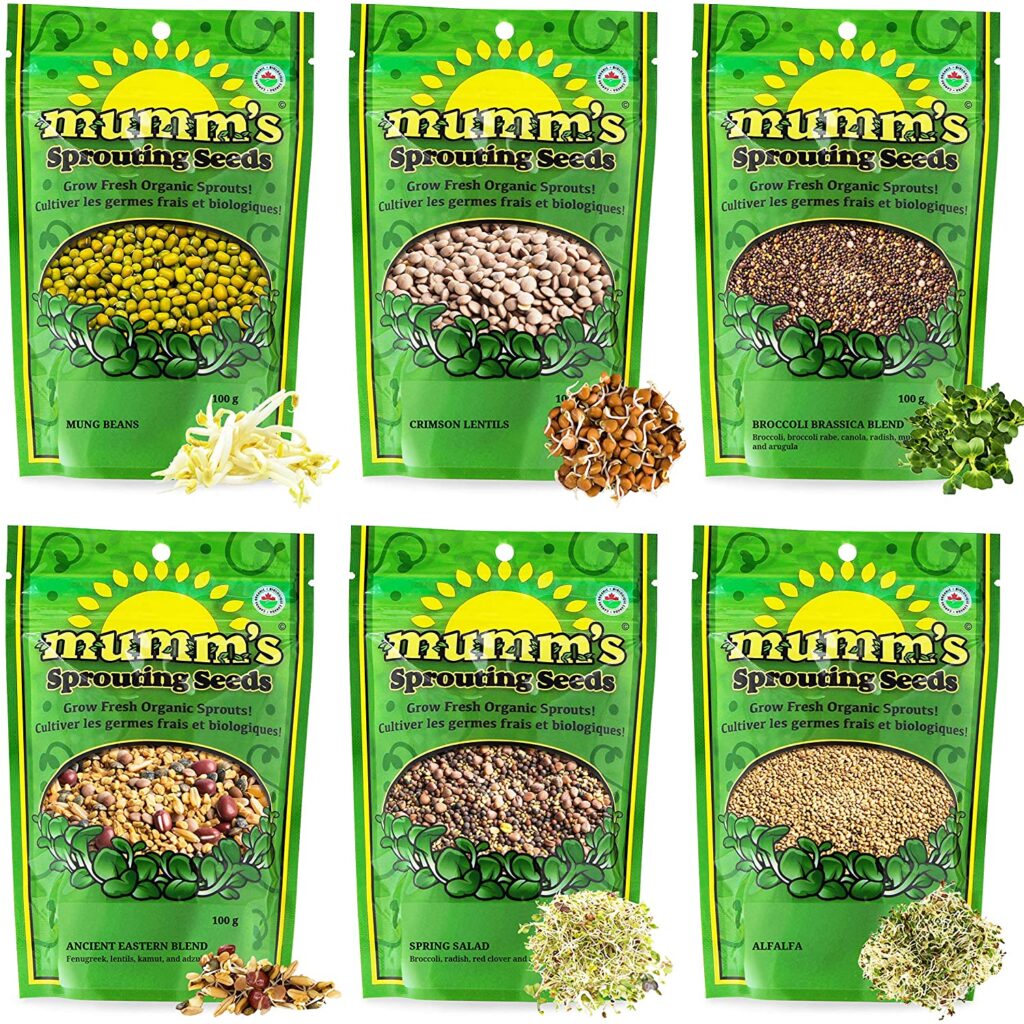
At this time, we are mostly sprouting mung beans and growing brocoli & alfalfa microgreens. We experimented with lentils as well –yes, you can turn your pantry lentils into microgreens. They are very tasty.
Start small and shop your seeds. Out of all the expenses you will make to start this journey, the seeds are the most expensive part. As I was looking for seeds examples, I ran across this seed starter kit on Amazon that could get you started.
Keep in mind that 625 gr of seeds will yield you several grams of greens! When you’ll be seeding your microgreens, you’ll only be using 10 grams at a time… which should you you easily over 200 grams of greens.
4 – Water Spray bottle
Get a water spray bottle… any plant water spray bottle. Water will be the most important part to grow your greens or sprouts.
Once you’ll have these 4 items on hand, you will be ready to start your sprouting journey.
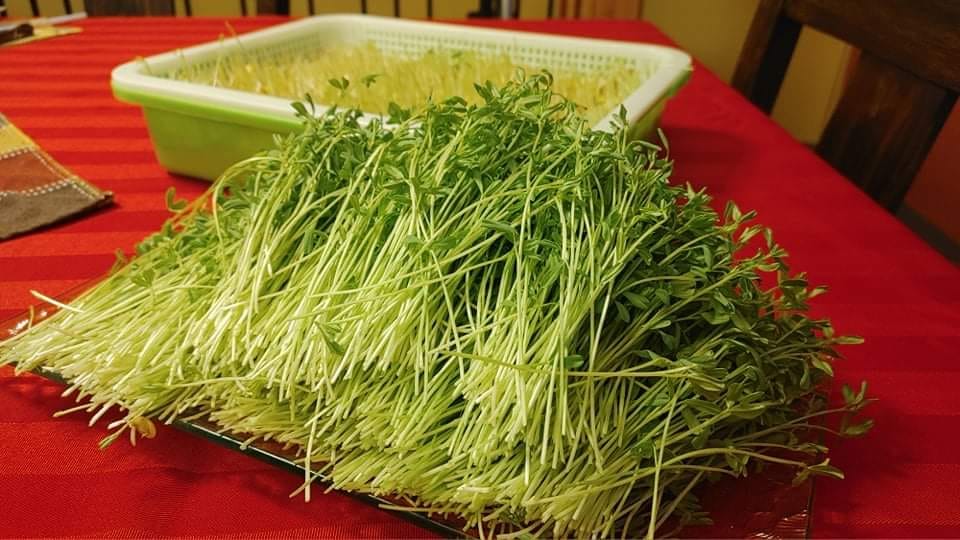
Our first growing project together will be sprouting mung beans. Sprouts growth is shorter and simpler than microgreens.
Tune in to next week’s blog for a step by step to grow your own sprouts… I’ll throw along a recipe to prepare and consume your sprouts!
Happy growing!


